Makarios User Guide
Complete guide to managing clients, projects, tasks, time tracking, expenses, and invoices — all stored securely on your device.
Getting Started
Installation
- Download the installer for your platform from the download page:
- Windows:
MakariosPMTool-win.exe - macOS:
MakariosPMTool-mac.dmg
- Windows:
- Windows: Run the EXE installer and follow the prompts
- Mac: Open the DMG, drag Makarios to Applications, then launch it (if blocked, right-click and select "Open")
- Makarios opens as a native desktop app — no browser required
First Launch
On first launch, you'll see:
- A pre-populated dashboard with demo data
- Navigation sidebar on the left
- Top bar with search and action buttons
Understanding the Interface
The application has three main areas:
- Left Sidebar: Navigation menu with all main sections
- Top Bar: Search, filters, and action buttons (context-aware)
- Main Content: The active page content
Dashboard
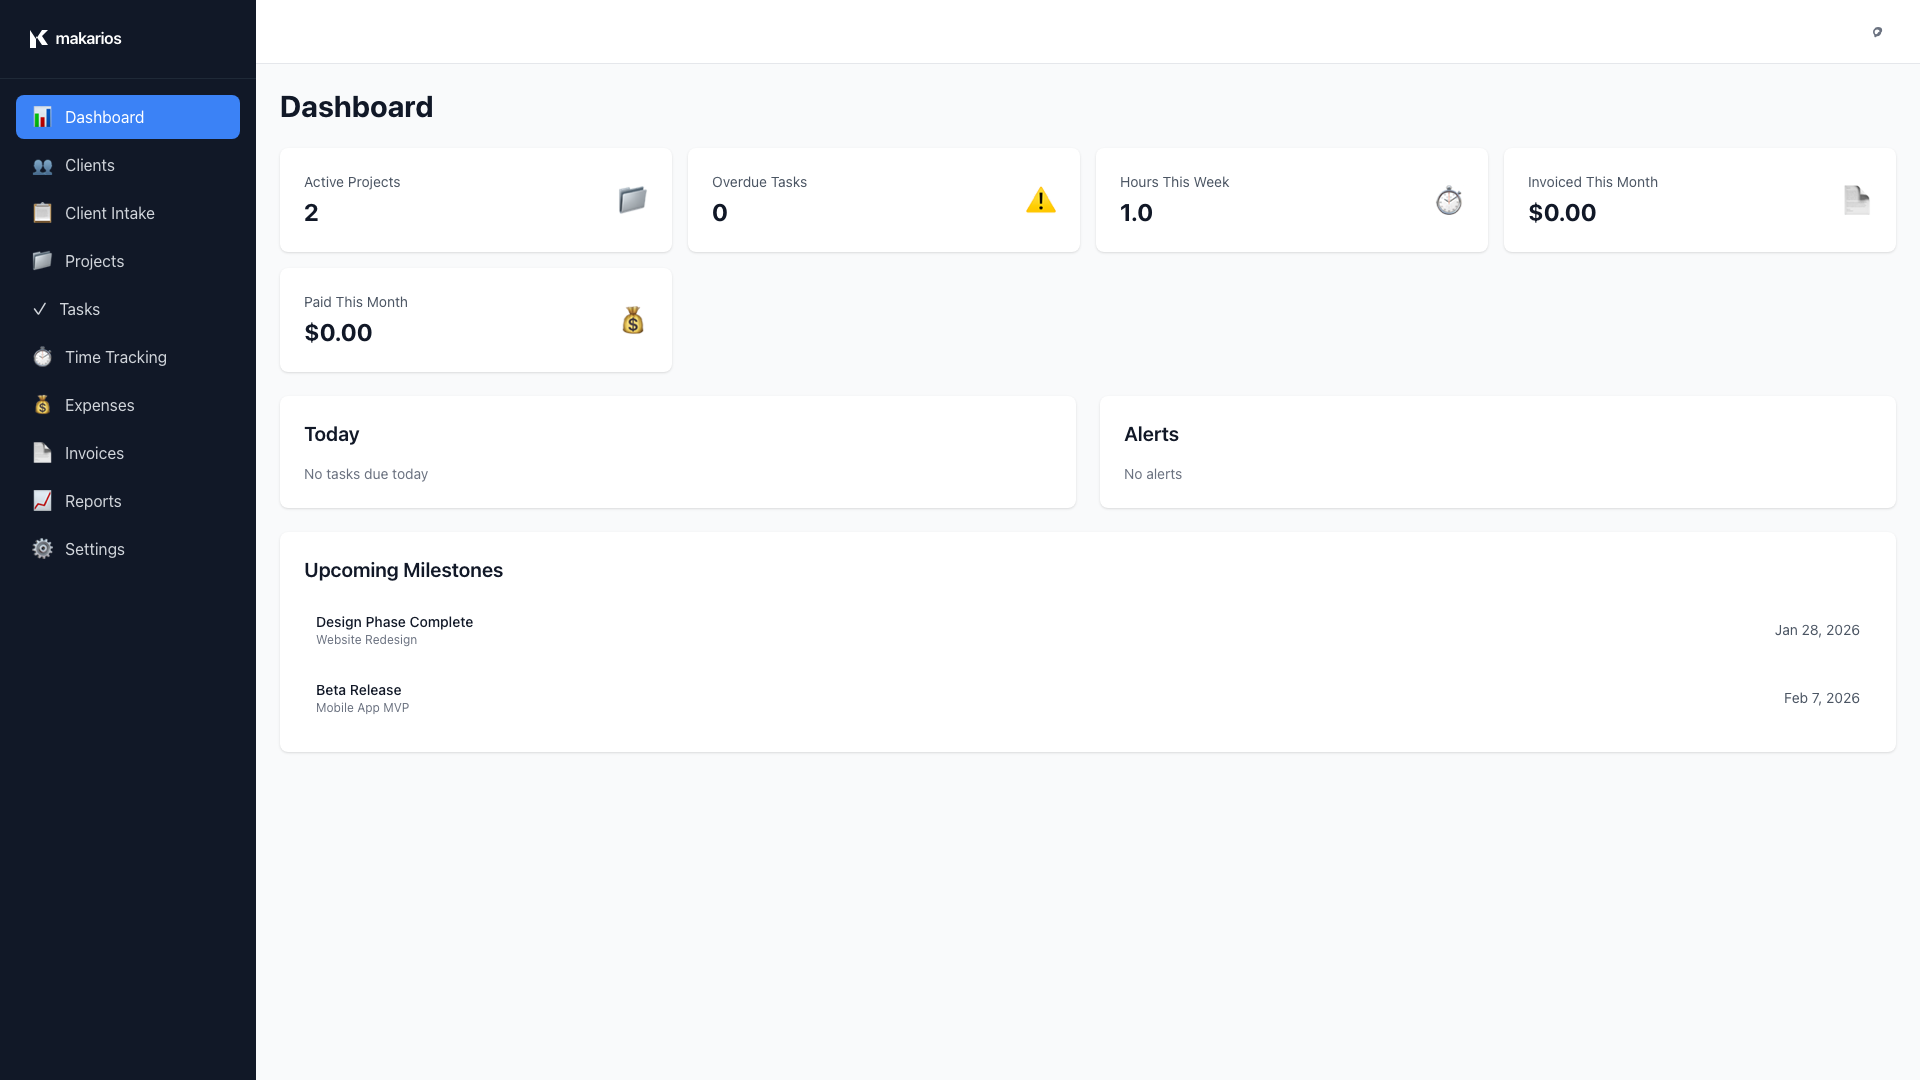
The Dashboard provides an overview of your entire business at a glance.

Key Metrics
The dashboard displays:
- Active Projects: Number of projects currently in progress
- Total Tasks: All tasks across all projects
- Hours This Week: Time tracked this week
- Revenue: Total invoiced amount
- Overdue Tasks: Tasks past their due date
- Unpaid Invoices: Invoices awaiting payment
Alerts & Warnings
The dashboard automatically shows:
- Overdue Tasks: Tasks that are past their due date
- Unpaid Invoices: Invoices that haven't been paid
- Projects Approaching Budget: Projects that have used 80%+ of their budget
- Projects Over Budget: Projects that have exceeded their budget
Upcoming Milestones
View your next 5 upcoming milestones sorted by due date.
Client Management
Creating a New Client
- Navigate to Clients from the sidebar
- Click New Client button in the top bar
- Fill in the client information:
- Name (required)
- Phone
- Contacts: Comma-separated list of contact names
- Timezone
- Tags: Comma-separated tags for organization
- Notes: Additional information
- Click Create
Editing a Client
- Click on any client card to view details
- Click Edit button
- Modify the information
- Click Update
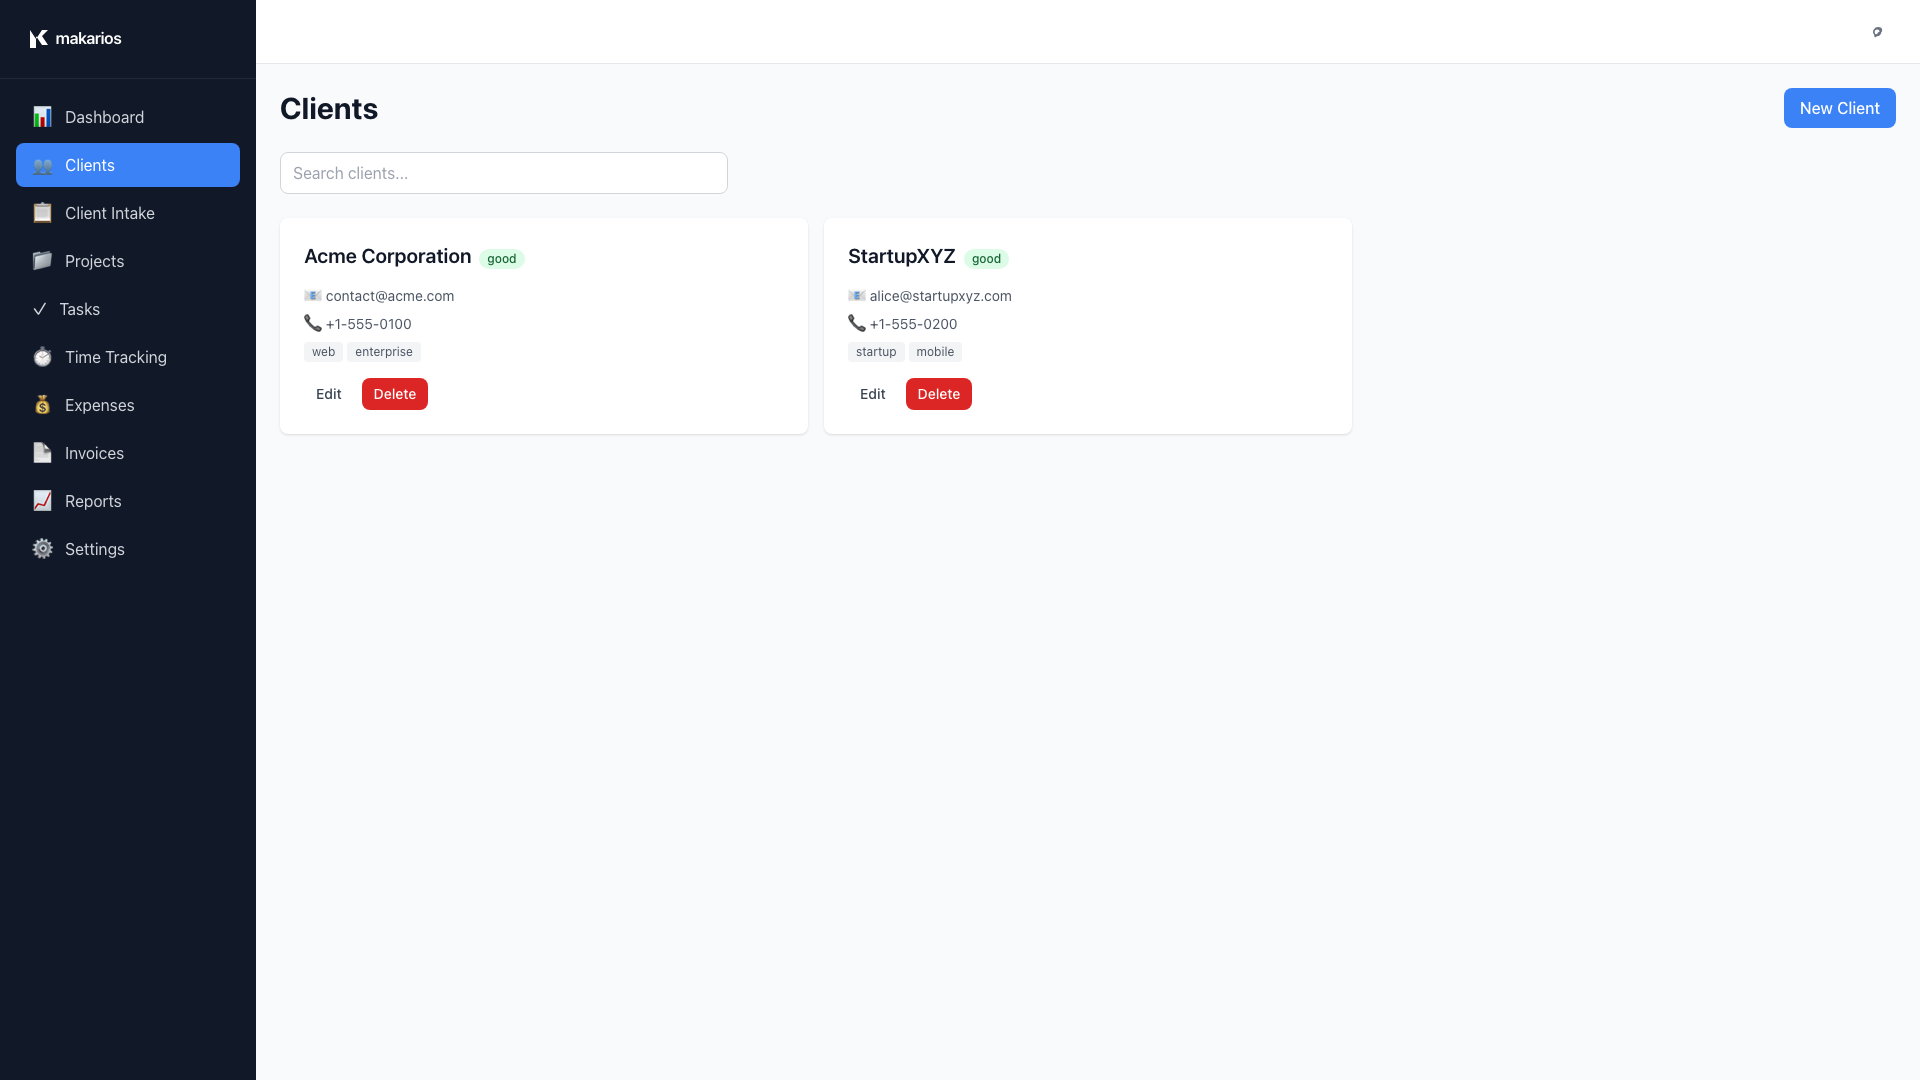
Searching Clients
Use the search bar in the top bar to quickly find clients by name, email, or tags.
Client Health Indicators
Each client card shows a health indicator:
- 🟢 Healthy: All projects on track
- 🟡 Warning: Some projects need attention
- 🔴 Critical: Multiple issues or overdue items
Client Intake
The Client Intake feature helps you capture project requirements systematically.
Creating an Intake Form
- Navigate to Client Intake from the sidebar
- Click New Intake Form
- Enter form details:
- Title: Name of the intake form
- Description: What this form is for
- Add questions by clicking Add Question:
- Text: Short text input
- Textarea: Long text input
- Number: Numeric input
- Date: Date picker
- Select: Dropdown with options
- Checkbox: Multiple choice options
- Click Save Form
Using Intake Forms
Intake forms allow you to create structured questionnaires for capturing client requirements. Once created, you can reference these forms when setting up new projects to ensure all necessary information is collected.
Project Management
Creating a New Project
- Navigate to Projects from the sidebar
- Click New Project in the top bar
- Fill in project details:
- Client: Select from existing clients
- Name: Project name
- Status: Planning, Active, On Hold, Completed, or Cancelled
- Start Date and End Date
- Budget Type: Fixed Price or Hourly Rate
- Budget Amount: Based on budget type
- Estimated Hours: For hourly projects
- Scope Summary: Brief description
- Tags: For organization
- Click Create
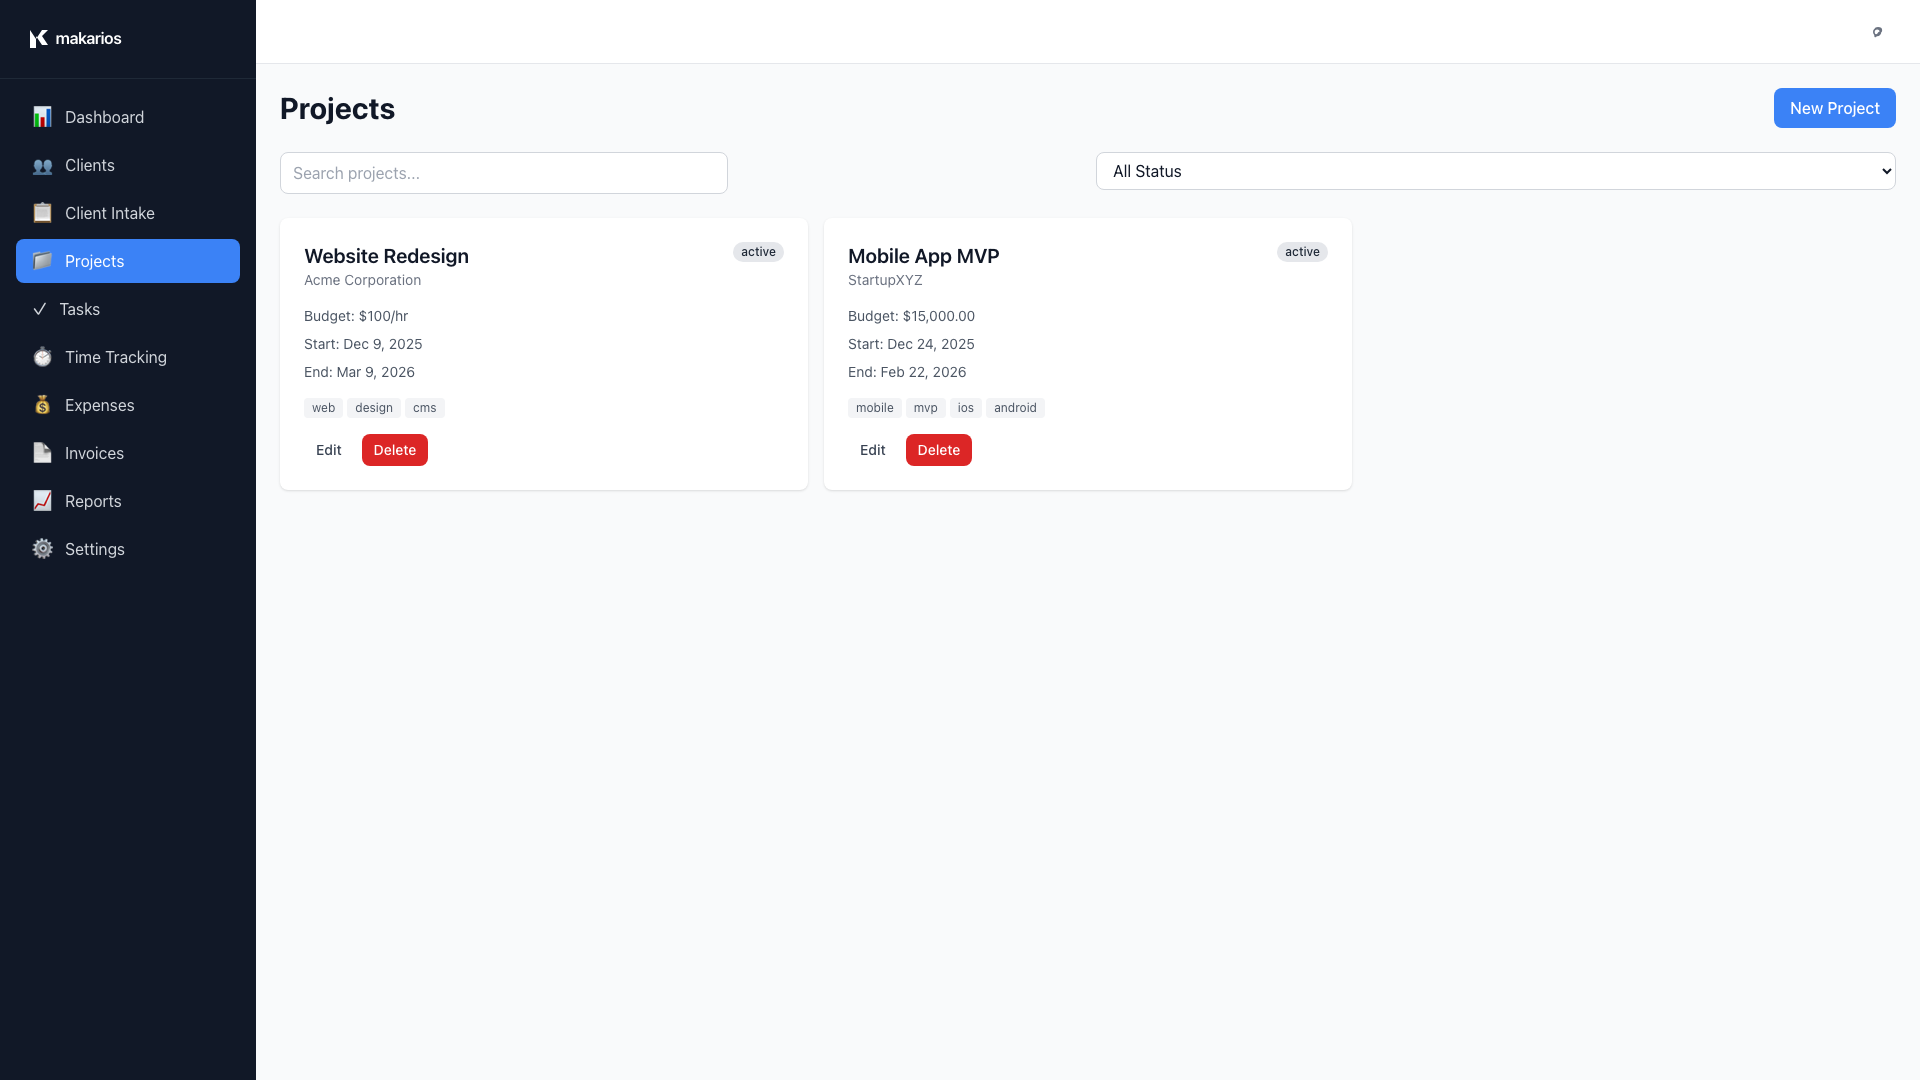
Project Status Filtering
Use the status filter in the top bar to view:
- All projects
- Planning projects
- Active projects
- On Hold projects
- Completed projects
- Cancelled projects
Project Details View
Click on any project to see:
- Overview: Project information and timeline
- Milestones: Project milestones and deliverables
- Tasks: All tasks associated with the project
Creating Milestones
- Open a project
- Go to the Milestones tab
- Click Add Milestone
- Enter:
- Name: Milestone name
- Due Date: When it's due
- Deliverables: List of deliverables (one per line)
- Click Create
Marking Milestones Complete
- Open a project and go to the Milestones tab
- Find the milestone in the list
- Click Edit on the milestone
- Change the status to Completed
- Click Update
Completed milestones display with a "Completed" badge, while pending milestones show a "Pending" badge.
Task Management
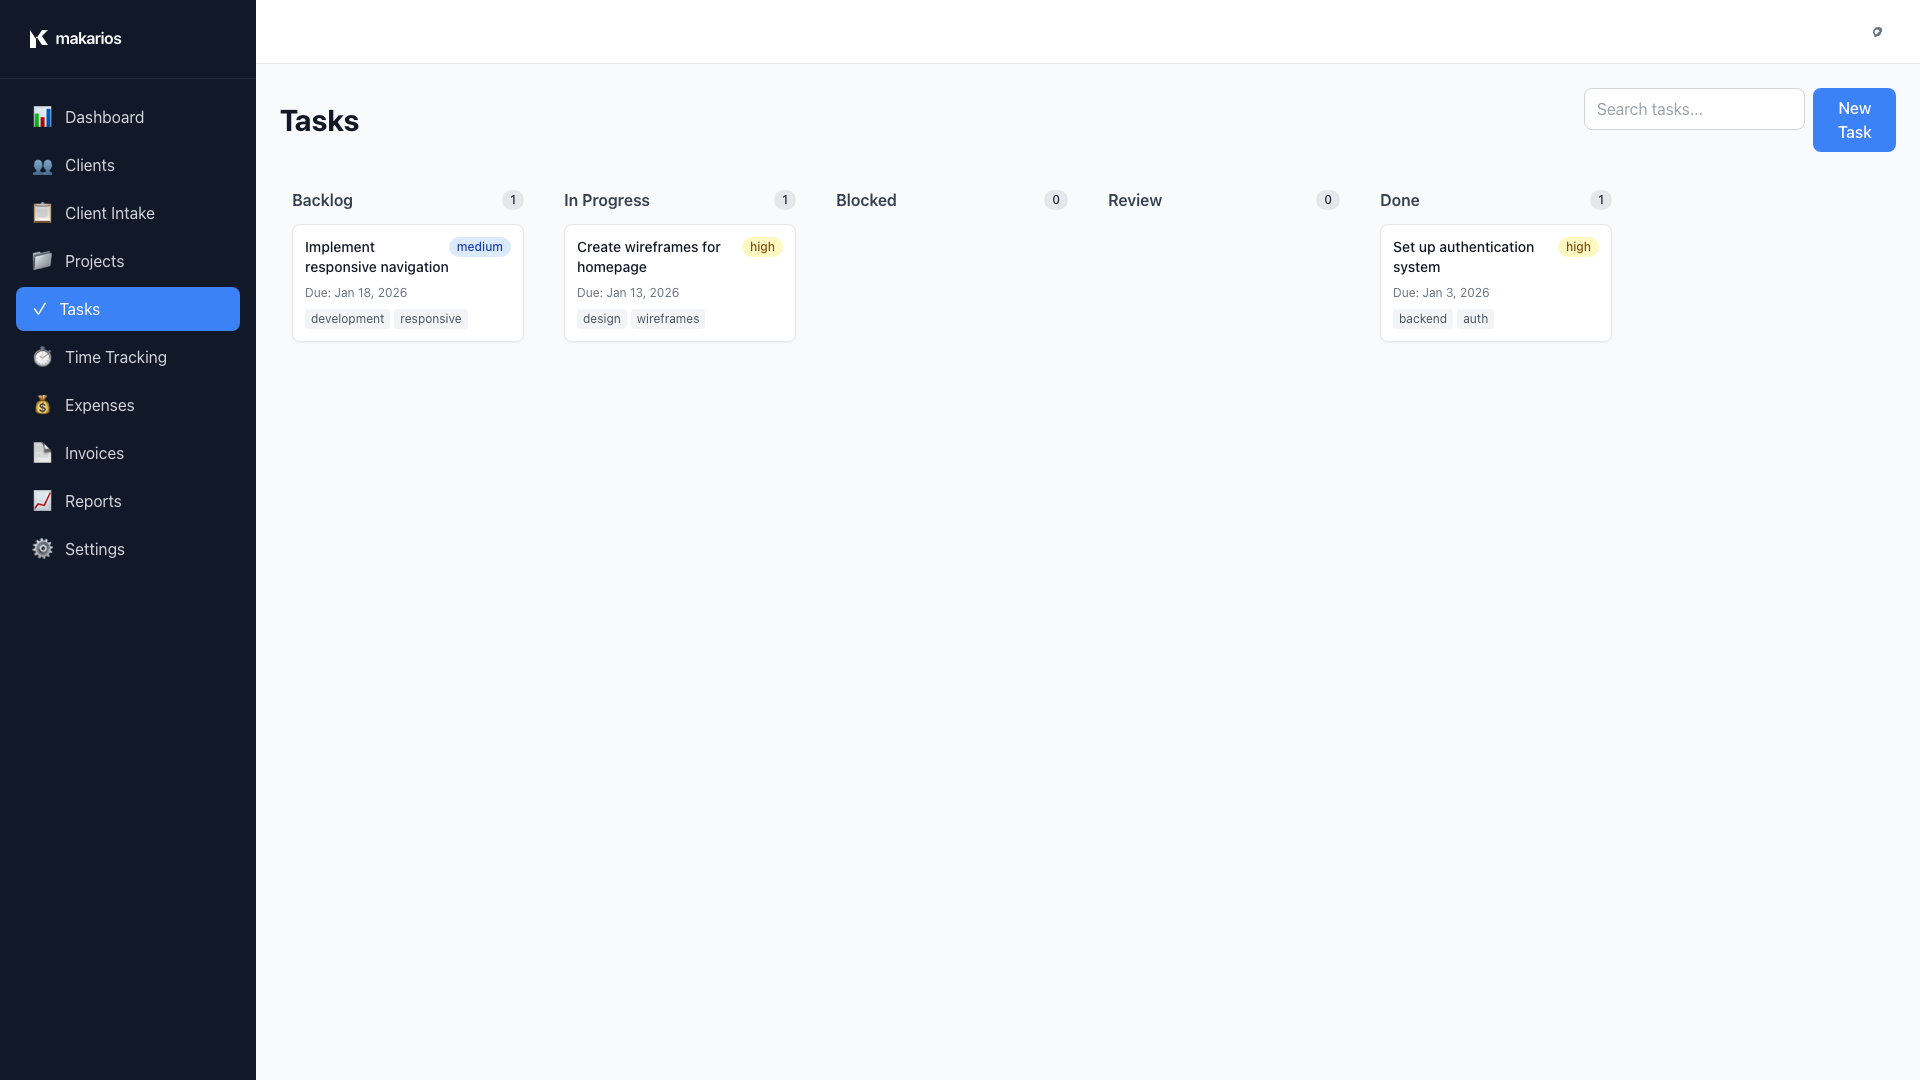
Kanban Board View
Tasks are organized in a Kanban board with columns:
- Backlog: Tasks not yet started
- In Progress: Tasks currently being worked on
- Blocked: Tasks that can't proceed
- Review: Tasks awaiting review
- Done: Completed tasks
Creating a Task
- Navigate to Tasks from the sidebar
- Click New Task in the top bar
- Fill in task details:
- Project: Optional project association
- Title: Task name (required)
- Description: Detailed description
- Status: Initial status
- Priority: Low, Medium, High, or Urgent
- Due Date: When the task is due
- Estimate: Estimated hours
- Tags: For organization
- Click Create
Moving Tasks Between Columns
Drag and Drop:
- Click and hold a task card
- Drag it to a different column
- Release to drop
The task status automatically updates.
Editing Tasks
- Click on any task card
- Modify the details
- Click Update
Task Priorities
Tasks are color-coded by priority:
- 🔴 Urgent: Red badge
- 🟡 High: Yellow badge
- 🔵 Medium: Blue badge
- ⚪ Low: Gray badge
Searching Tasks
Use the search bar in the top bar to find tasks by:
- Title
- Description
- Tags
Task Dependencies
Tasks can reference other tasks as dependencies. While the dependency relationship can be stored in the task data, the current implementation does not enforce dependency completion before marking tasks as done. Use task descriptions and notes to document dependencies and workflow requirements.
Time Tracking
Starting a Timer
- Navigate to Time Tracking from the sidebar
- Select a Project (required)
- Optionally select a Task from the project
- Click Start Timer
The timer starts immediately. You can add description, category, and billable status later when you stop the timer or use the Manual Entry form.
Timer Display
When a timer is running:
- A timer indicator appears in the top bar showing elapsed time
- The timer updates every second
- You can see it from any page
- The timer shows the project name and elapsed time
Stopping a Timer
- Go to the Time Tracking page
- Click Stop Timer
- The time entry is automatically saved
Manual Time Entry
To add time that wasn't tracked:
- Click Add Manual Entry
- Fill in:
- Project and Task (optional)
- Description
- Category
- Start Time and End Time
- Billable checkbox
- Click Add Entry
Weekly Timesheet View
View all your time entries for the current week:
- Grouped by day
- Shows project, task, description, and category
- Displays duration and billable amount (if applicable)
Time Categories
Organize your time with categories:
- Development
- Design
- Meeting
- Research
- Communication
- Other
Exporting Time Reports
- Use the search/filter to find specific time entries
- The data can be exported via the Reports section
- Use for invoicing or client reporting
Expense Management
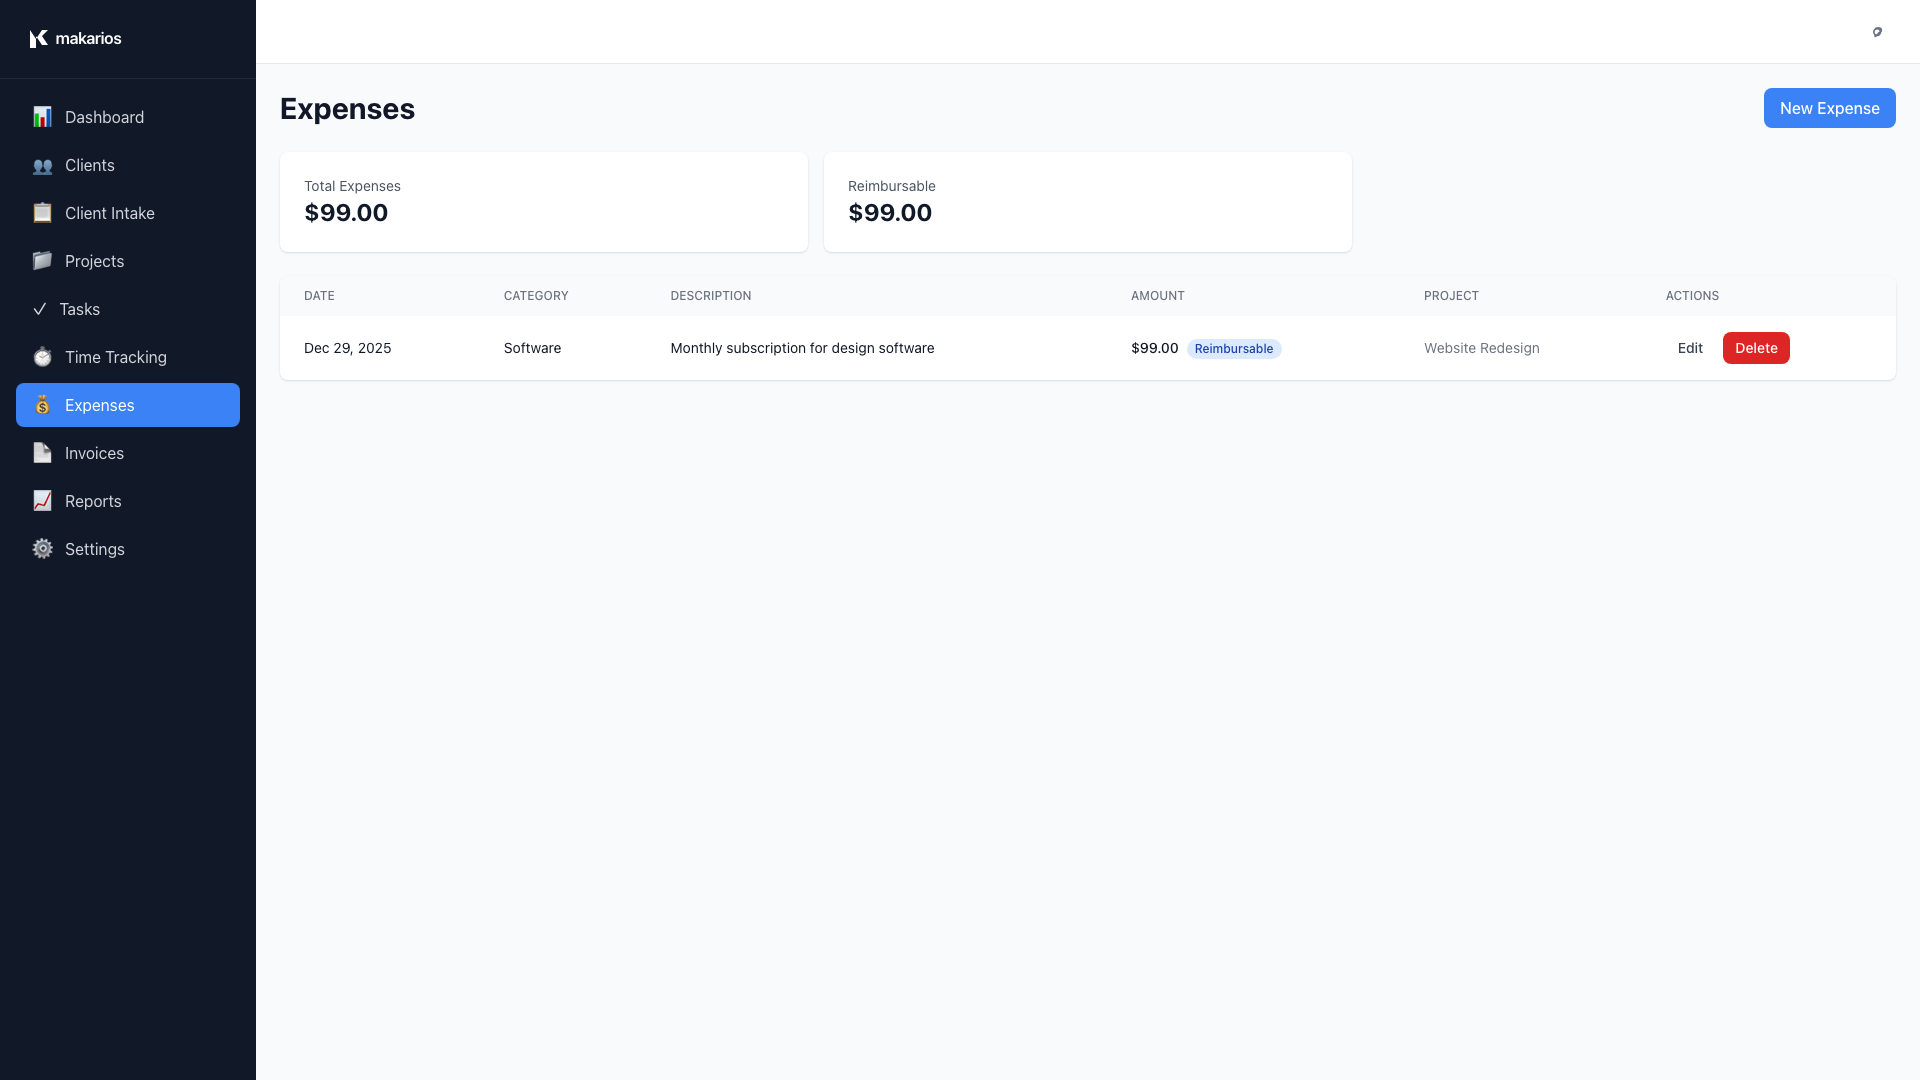
Adding an Expense
- Navigate to Expenses from the sidebar
- Click New Expense in the top bar
- Fill in expense details:
- Project: Which project this expense is for
- Description: What the expense is for
- Category: Type of expense
- Amount: Cost
- Date: When the expense occurred
- Receipt: Optional notes about receipt
- Click Create
Expense Categories
Common expense categories:
- Software/Tools
- Stock Assets
- Travel
- Meals
- Office Supplies
- Other
Viewing Expenses by Project
Expenses are automatically associated with projects. View all expenses for a project:
- Open the project
- Go to the Expenses tab
- See all expenses with totals
Expense Filtering
Filter expenses by:
- Project
- Category
- Date range
Invoice Management
Creating an Invoice
- Navigate to Invoices from the sidebar
- Click New Invoice in the top bar
- Fill in invoice details:
- Client: Select the client
- Project: Select the project (optional)
- Invoice Number: Auto-generated or custom
- Issue Date: When the invoice is issued
- Due Date: Payment deadline
- Items: Add line items
- Click Create
Adding Invoice Items
- Click Add Item
- Enter:
- Description: What you're billing for
- Quantity: Number of units
- Rate: Price per unit
- Amount: Automatically calculated
- Click Add
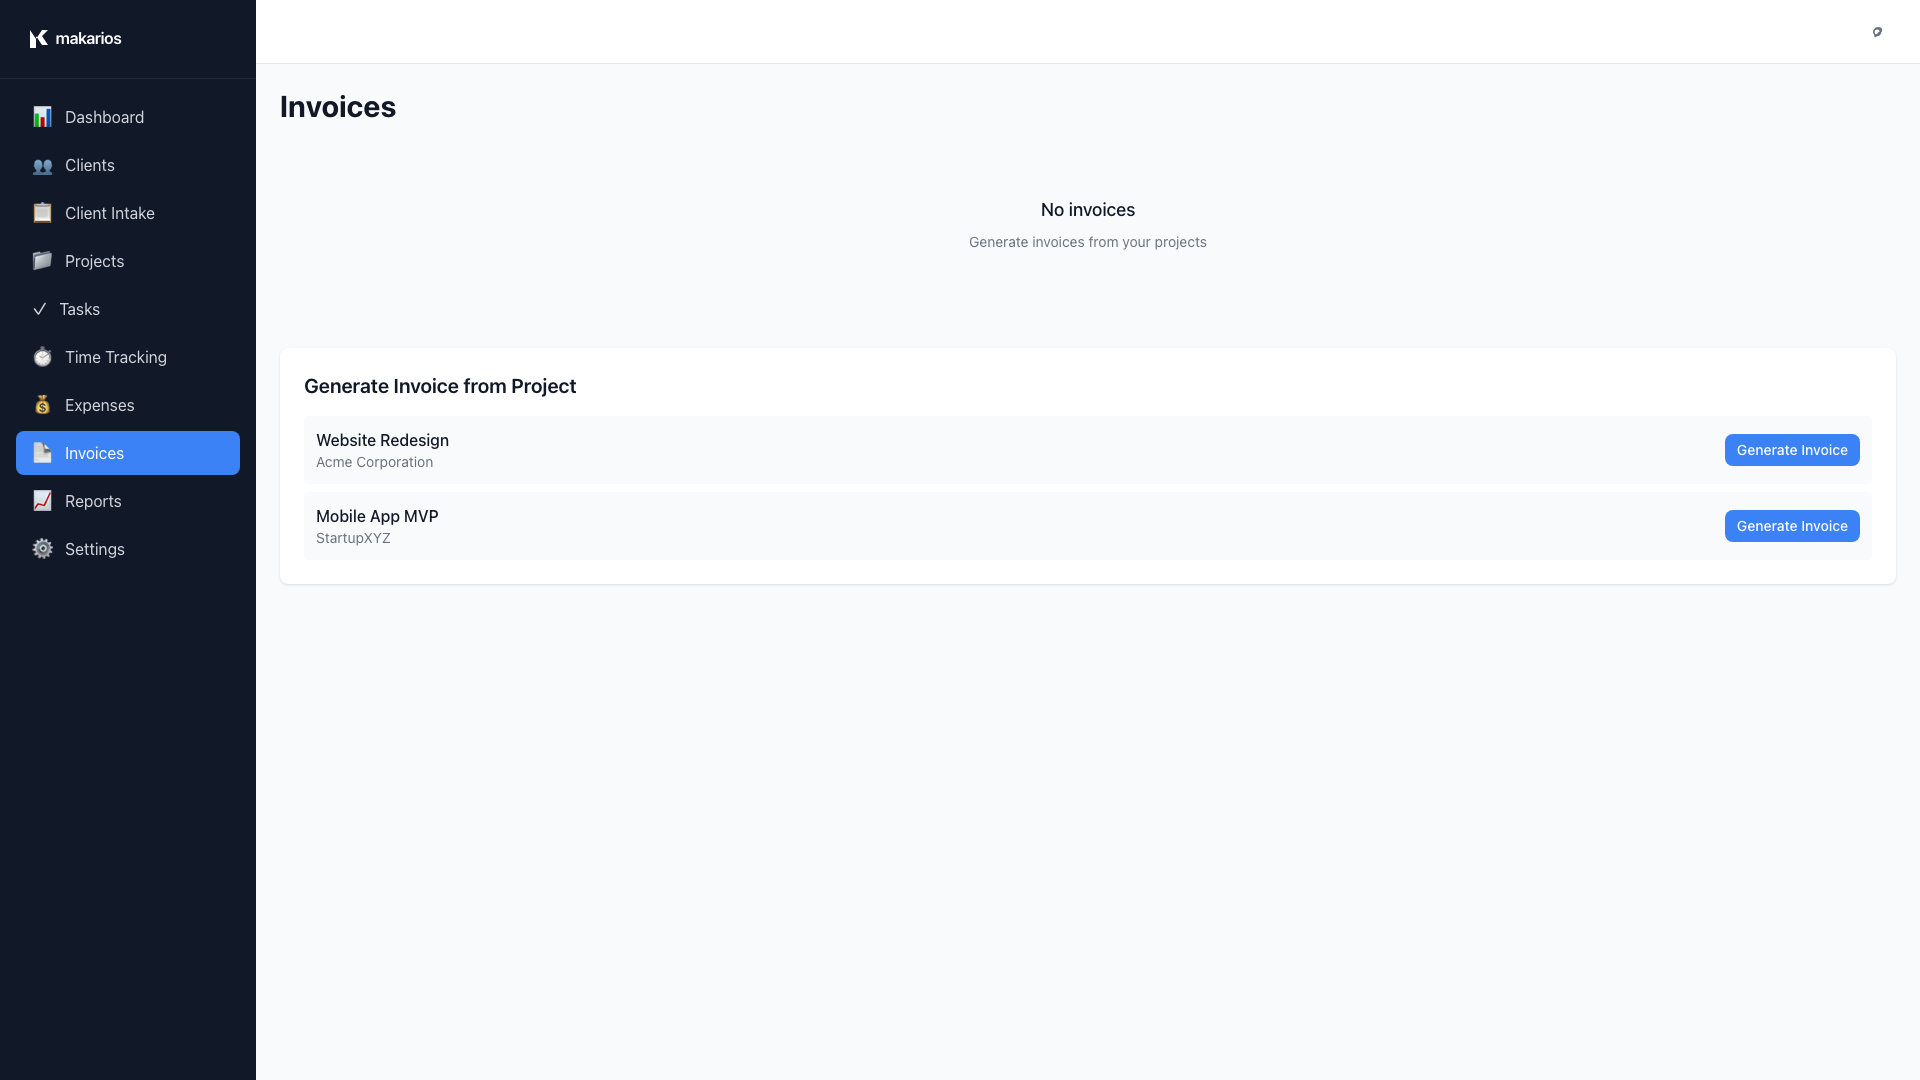
Generating Invoice from Time Entries
Invoices can be automatically generated from projects with billable time entries and reimbursable expenses:
- Navigate to Invoices from the sidebar
- Find the project in the active projects list
- Click Generate Invoice next to the project
- The invoice is automatically created with:
- All billable time entries as line items
- All reimbursable expenses as line items
- Automatic calculations for totals
Invoice Status
Invoices have different statuses:
- Draft: Not yet sent
- Sent: Sent to client
- Paid: Payment received
- Overdue: Past due date
Recording Payments
- Open an invoice
- Click Record Payment
- Enter:
- Amount: Payment amount
- Date: Payment date
- Method: Payment method
- Notes: Additional information
- Click Record Payment
Printing/Exporting Invoices
- Open an invoice
- Click Print or use browser print (Ctrl+P / Cmd+P)
- The invoice is formatted for printing
Invoice Numbering
Invoice numbers are auto-generated using a timestamp format:
- Format:
INV-{timestamp} - Example:
INV-1704067200000
Each invoice receives a unique number based on when it was created. You can edit the invoice number manually after creation if needed.
Reports & Status Updates
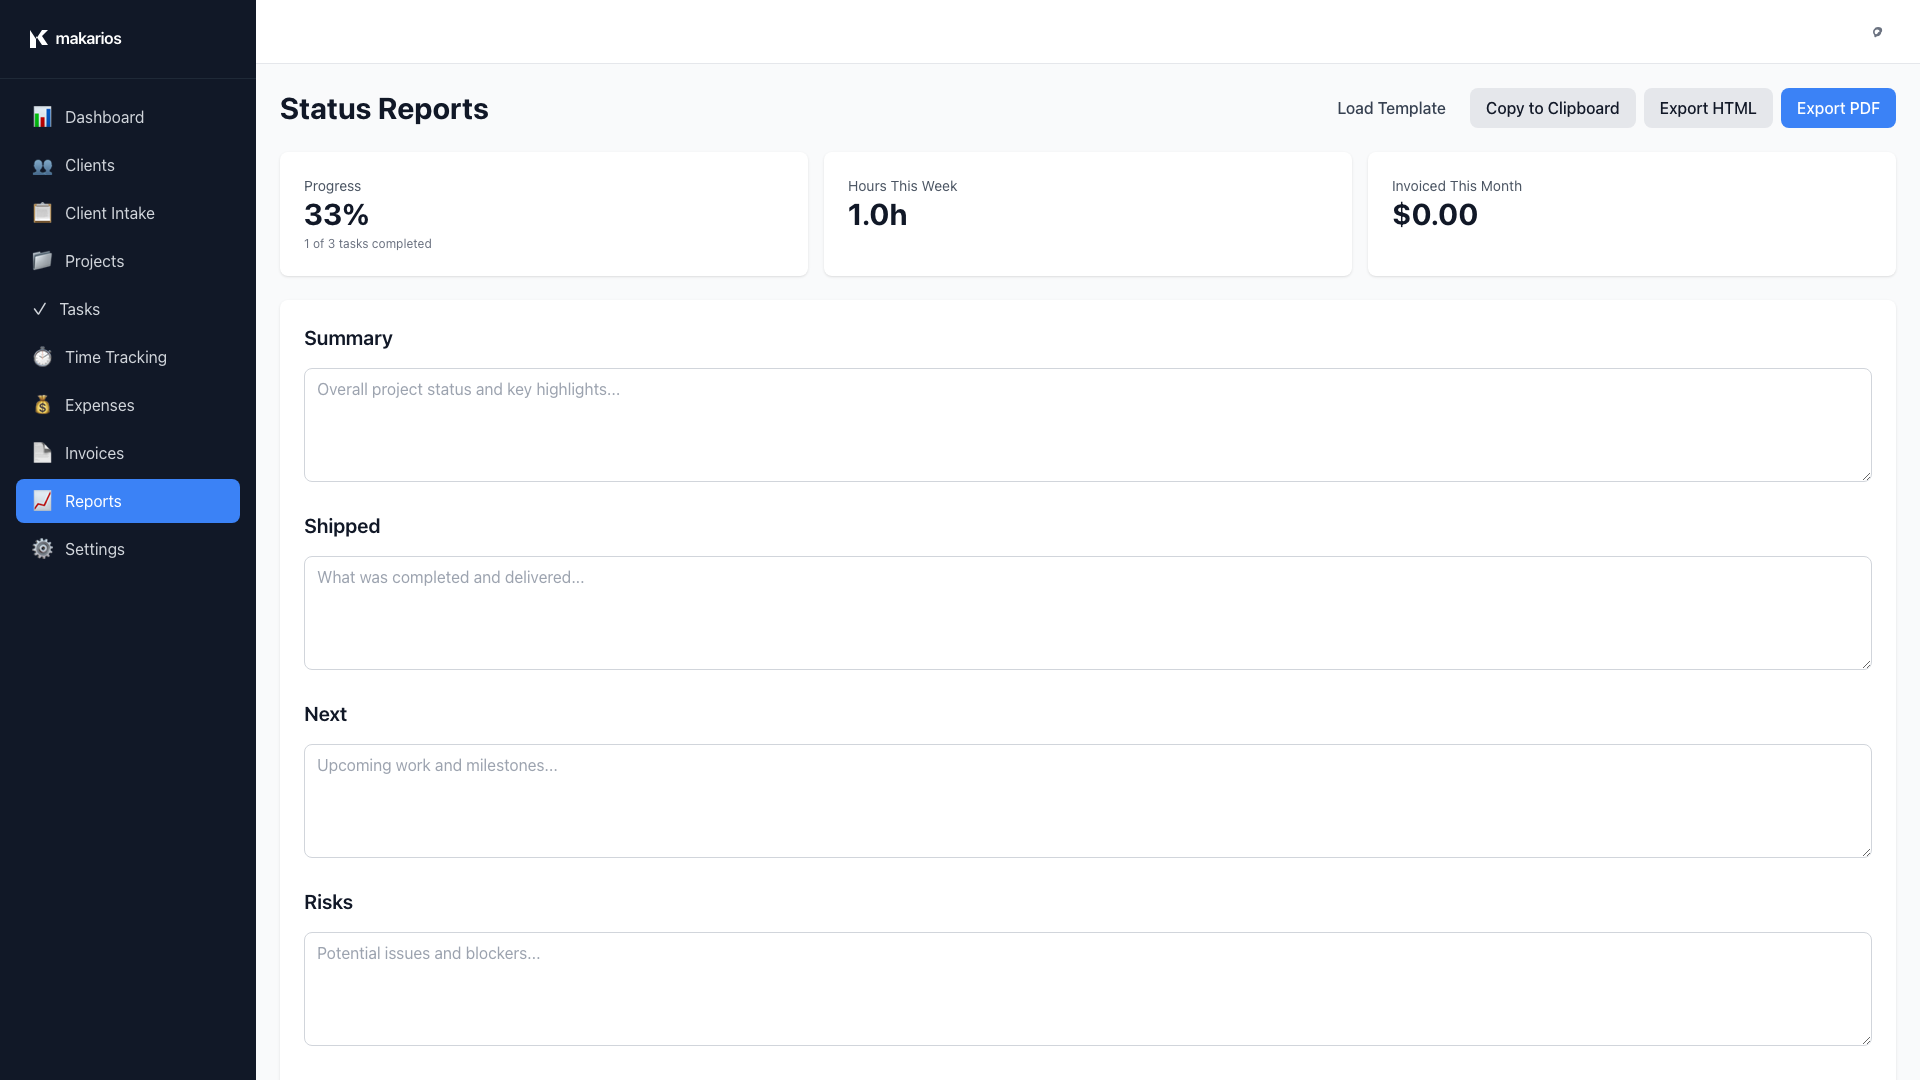
Generating Status Reports
- Navigate to Reports from the sidebar
- The page shows overall project metrics at the top
- Fill in report sections:
- Summary: High-level summary and overall project status
- Shipped: What was completed and delivered
- Next: Upcoming work and milestones
- Risks: Potential issues and blockers
- Budget Burn: Financial overview and budget status
- Click Export PDF to generate and download the report
Using Report Templates
- Select a template from the dropdown
- Click Load Template
- The form is pre-filled with template content
- Customize as needed
- Generate PDF
PDF Export
Status reports can be exported as PDF:
- Fill out the report
- Click Generate PDF
- The PDF downloads automatically
Report Metrics
The Reports page automatically calculates:
- Total projects and their status
- Total hours tracked
- Total amount invoiced
- Budget utilization
Settings & Branding
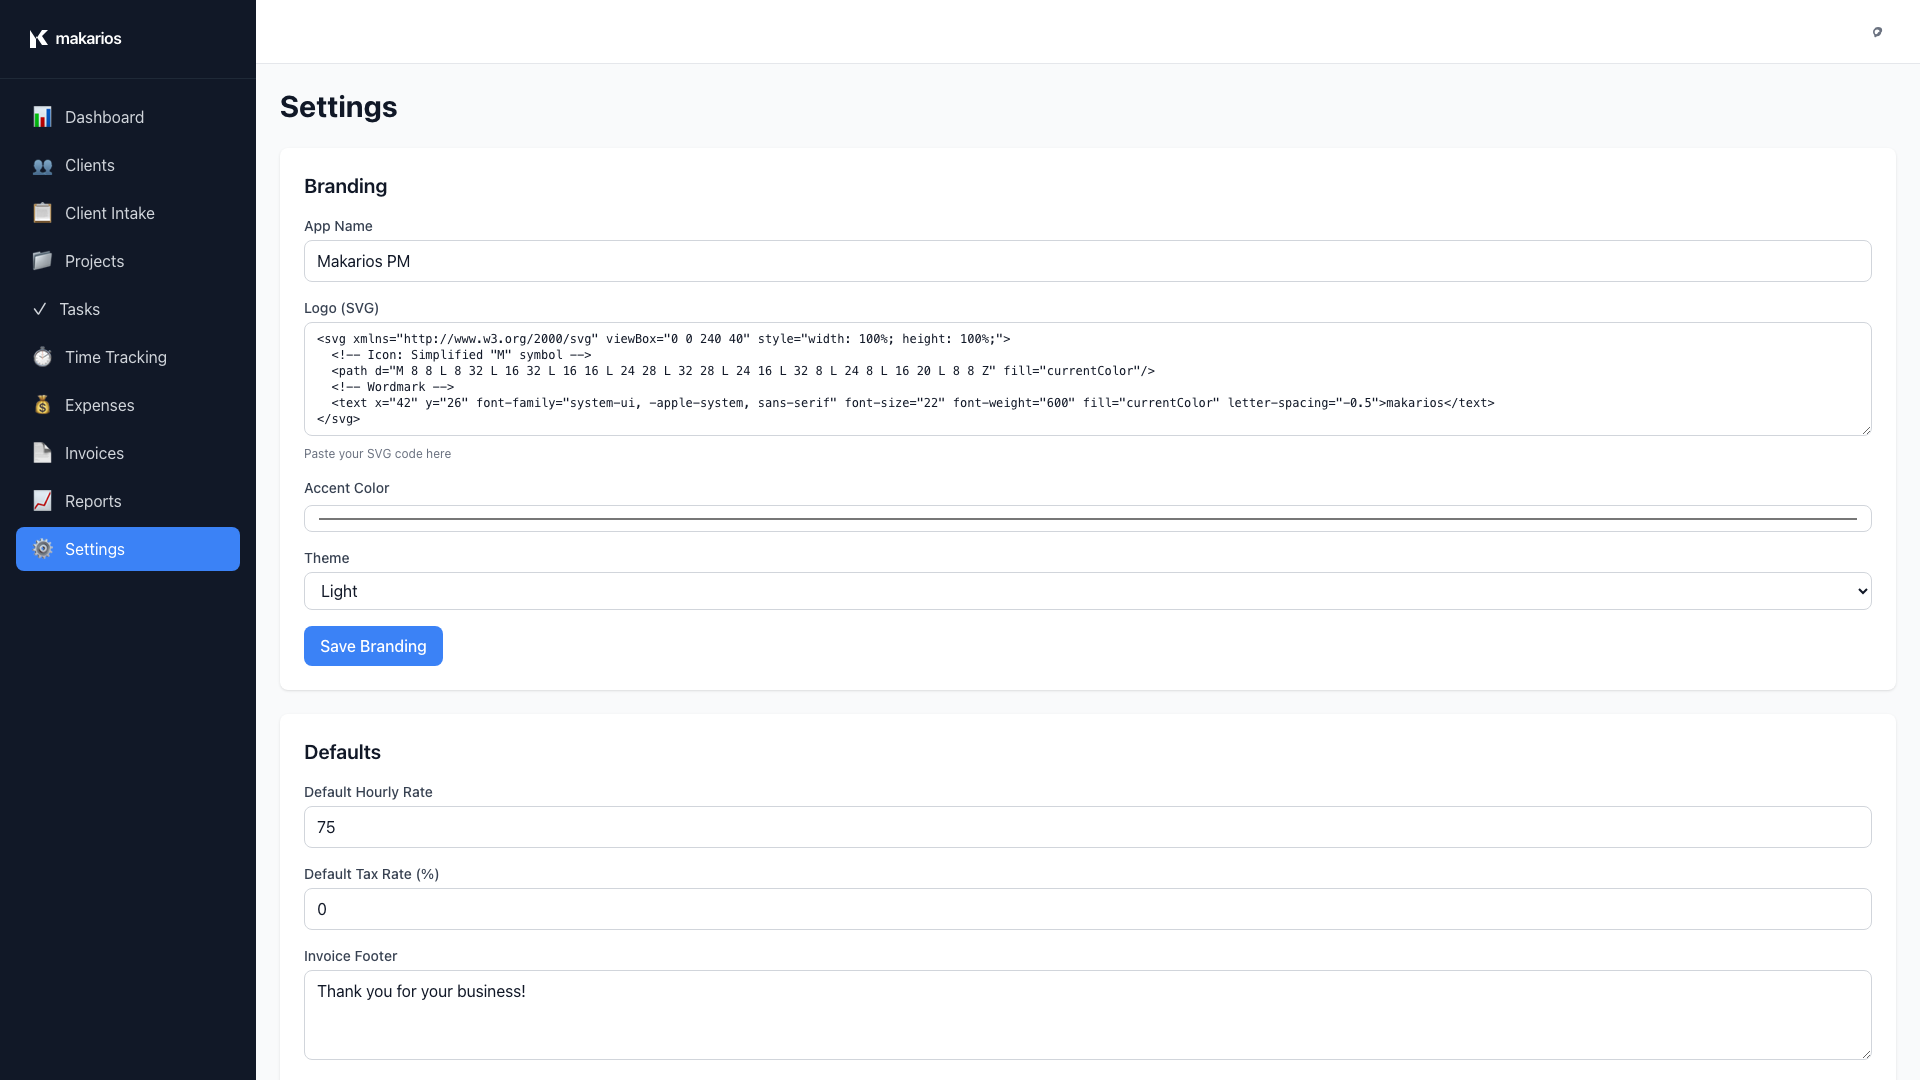
Customizing Your Brand
- Navigate to Settings from the sidebar
- Go to the Branding section
- Customize:
- App Name: Your business name
- Custom Logo: Upload PNG or SVG (max 2MB)
- Accent Color: Your brand color
- Theme: Light or Dark mode
Uploading a Custom Logo
- Click Upload Logo (PNG or SVG)
- Select an image file
- The logo appears in the sidebar
- "Powered by Makarios" appears below your logo
Removing Custom Logo
- Click Remove next to your custom logo
- The default Makarios logo is restored
Default Settings
Configure default values:
- Default Hourly Rate: Used for new projects
- Default Tax Rate: Applied to invoices
- Invoice Footer: Text shown on all invoices
- Time Rounding: How time entries are rounded
Theme Selection
Switch between Light and Dark themes:
- Go to Settings > Branding
- Select Theme: Light or Dark
- The entire application updates immediately
Keyboard Shortcuts
Makarios includes keyboard shortcuts and a command palette for fast navigation.
| Shortcut | Action |
|---|---|
Ctrl/Cmd + K |
Open command palette — navigate anywhere or create new items |
Ctrl/Cmd + Z |
Undo last action |
Ctrl/Cmd + Shift + Z |
Redo |
Escape |
Close command palette or modal |
Ctrl/Cmd + K) to quickly jump to any page, create a new client, or start a new project without reaching for the mouse.
Data Management
Your Data Stays on Your Device
Makarios is a local-first application. All your clients, projects, time entries, invoices, and settings are stored in your browser's local storage on your computer. Nothing is sent to external servers — your business data stays private.
Exporting Your Data
- Navigate to Settings
- Go to Data Tools section
- Click Export Data
- A JSON file downloads with all your data
Importing Data
- Go to Settings > Data Tools
- Click Choose File
- Select a previously exported JSON file
- Click Import Data
- Your data is restored
Backup Recommendations
- Export your data regularly (weekly recommended)
- Store backups in multiple locations
- Name files with dates:
makarios-backup-2024-01-15.json
Resetting All Data
- Go to Settings > Data Tools
- Type RESET in the confirmation field
- Click Reset All Data
- All data is permanently deleted
Tips & Best Practices
Project Organization
- Use Tags: Tag projects and tasks for easy filtering
- Set Realistic Deadlines: Use due dates to prioritize work
- Break Down Large Tasks: Create subtasks for complex work
- Use Intake Forms: Create reusable intake forms for common project types
Time Tracking
- Start Timer Immediately: Don't forget to track time
- Use Categories: Categorize time for better reporting
- Review Weekly: Check your timesheet weekly for accuracy
- Billable vs Non-Billable: Mark time appropriately
Invoicing
- Invoice Regularly: Don't let invoices pile up
- Use Time Entries: Generate invoices from tracked time
- Follow Up: Track invoice status and follow up on overdue payments
- Keep Records: Export invoices for your records
Budget Management
- Set Budgets Early: Define budgets at project start
- Monitor Regularly: Check budget status on dashboard
- Track Expenses: Record all project expenses
- Adjust as Needed: Update budgets if scope changes
Client Communication
- Use Intake Forms: Create structured questionnaires to capture requirements systematically
- Send Status Reports: Keep clients informed with regular reports generated from the Reports page
- Document Everything: Use notes and descriptions liberally in projects, tasks, and time entries
- Track Time Accurately: Use time tracking to provide detailed billing information
Data Safety
- Regular Backups: Export data weekly
- Multiple Copies: Store backups in different locations
- Before Updates: Always backup before major changes
- Test Imports: Verify backups work by testing imports
Troubleshooting
Application Won't Start
Windows:
- Right-click
Start Makarios Tool.batand select "Run as Administrator" - Check if port 4173 is already in use
- Try a different port by editing
server/serve.js
Mac:
- Right-click
Start Makarios Tool.commandand select "Open" - If blocked, go to System Preferences > Security & Privacy > Allow
Data Not Saving
- Check browser console for errors (F12)
- Ensure localStorage is enabled in your browser
- Try clearing browser cache and reloading
Logo Not Displaying
- Verify the image is PNG or SVG format
- Check file size is under 2MB
- Try uploading a different image
Performance Issues
- Close other browser tabs
- Clear browser cache
- Export and re-import data (may help with large datasets)